The majority of products don’t come in a single choice in eCommerce. There are many different variations like color, size, type, length, etc. That’s why WooCommerce allows you to create variable products.
Creating a variable product is easy and straightforward. But as compared to all other types of WooCommerce variable products, it is complicated to setup. If you want you can create variable products in WooCommerce with the Divi theme as well.
The fact is that attributes, images, and other terms must be applied to each variation individually.
In this tutorial, we will show you how to create variations in your Astra Theme-powered WooCommerce store.
Create WooCommerce Variable Products in Astra Powered Website
Follow the below steps to create a WooCommerce variable product:
- Head to your WordPress dashboard.
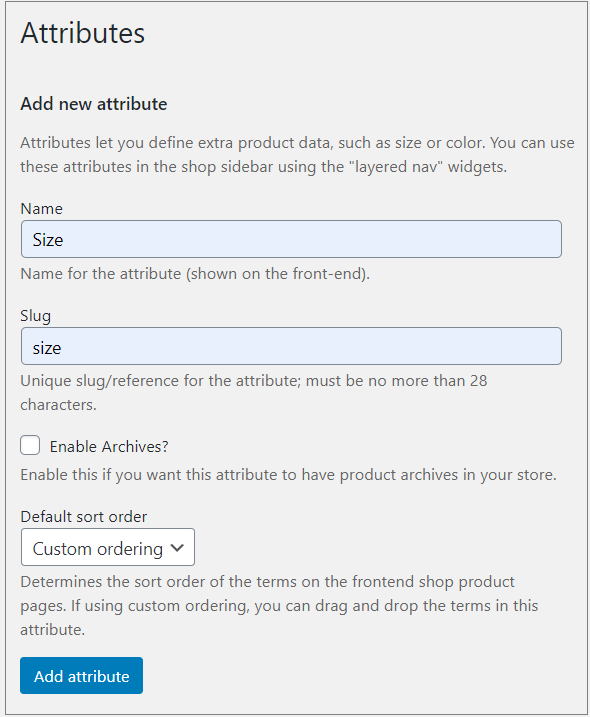
- Navigate to the Attributes from the Products section from the left menu.
- Add the title attribute in the name field.
- The slug field is optional.
- Click on the Add attribute button to finalize the changes.
- Here, we have added ‘Size’ attributes for demonstration purposes.
New attributes are listed on the right table. You can enable different kinds of WooCommerce product attribute if you want.

Click Configure terms to add each attribute term.

Assign your product attribute types in this form.
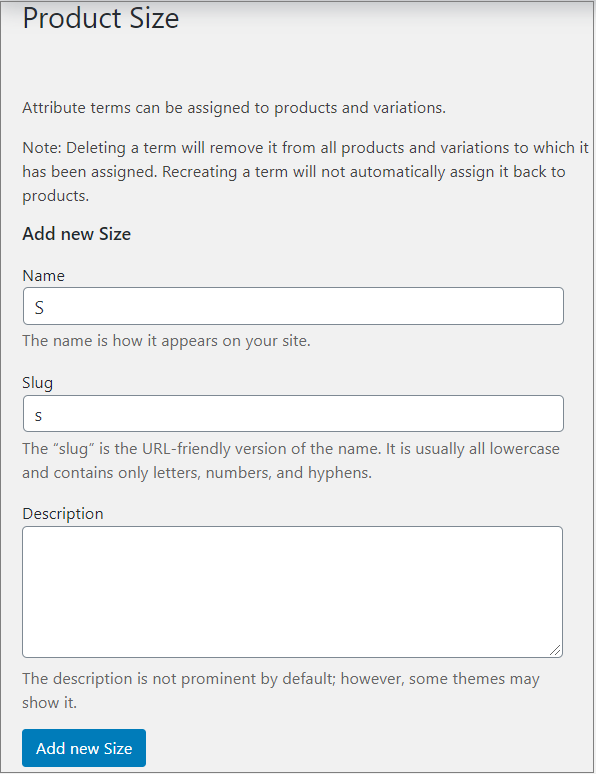
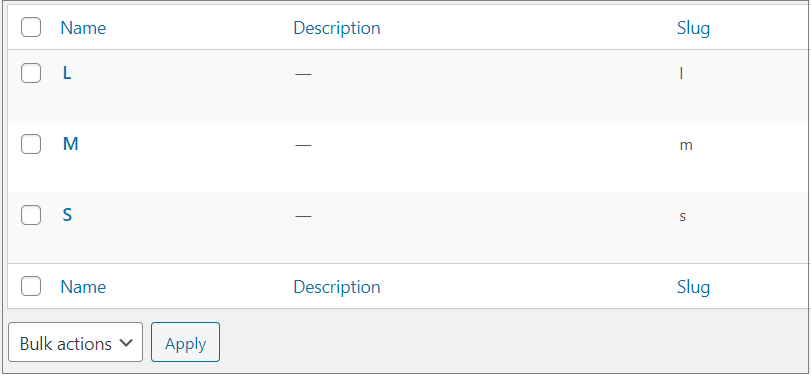
Add each size you sell clothing in (such as S, M, or L)
By clicking the Add new Size button on the left side (you can add as many sizes as you need).
Navigate to Products from the left menu bar. You can add either a new product or edit the existing one.
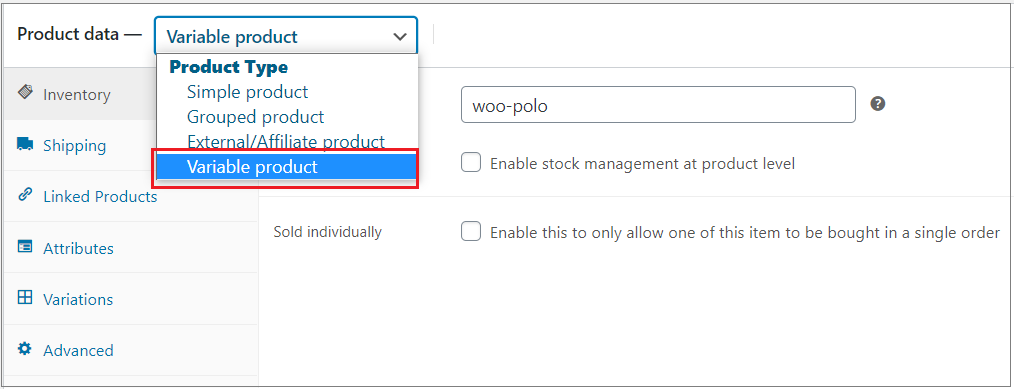
It’s time to configure WooCommerce variable products.
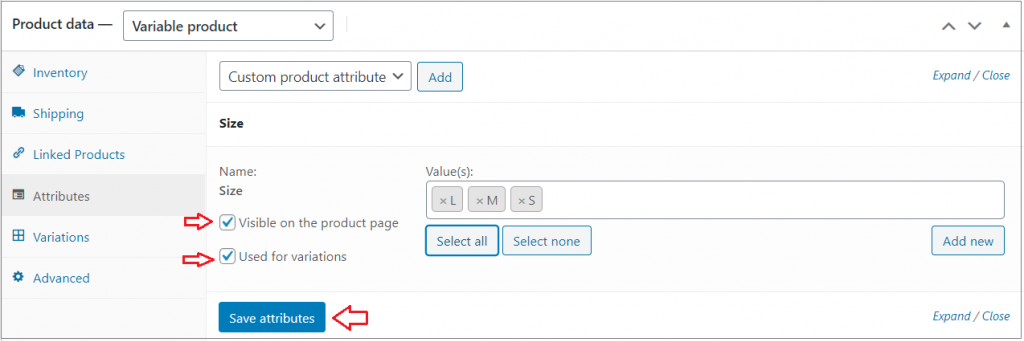
Select Variable product from the drop-down of the ‘Product data’ section.
Head to the Attribute tab. The size attributes that we have created are visible here.
Select your desired attributes and click on the Add button.

Once added, you need to select Visible on the product page‘ and ‘Used for variations and Save attributes.
Navigate to the ‘Variations‘ section, right below the Attributes. Then select ‘Add variation’ from the drop-down. There will be a new drop-down menu after you hit the ‘Go‘ button.
The final step is to customize the rest of the settings.
Expand the variations panel. There are options to upload an image, add the price, stock status, dimensions, and more. But it’s mandatory to set a price for variation.
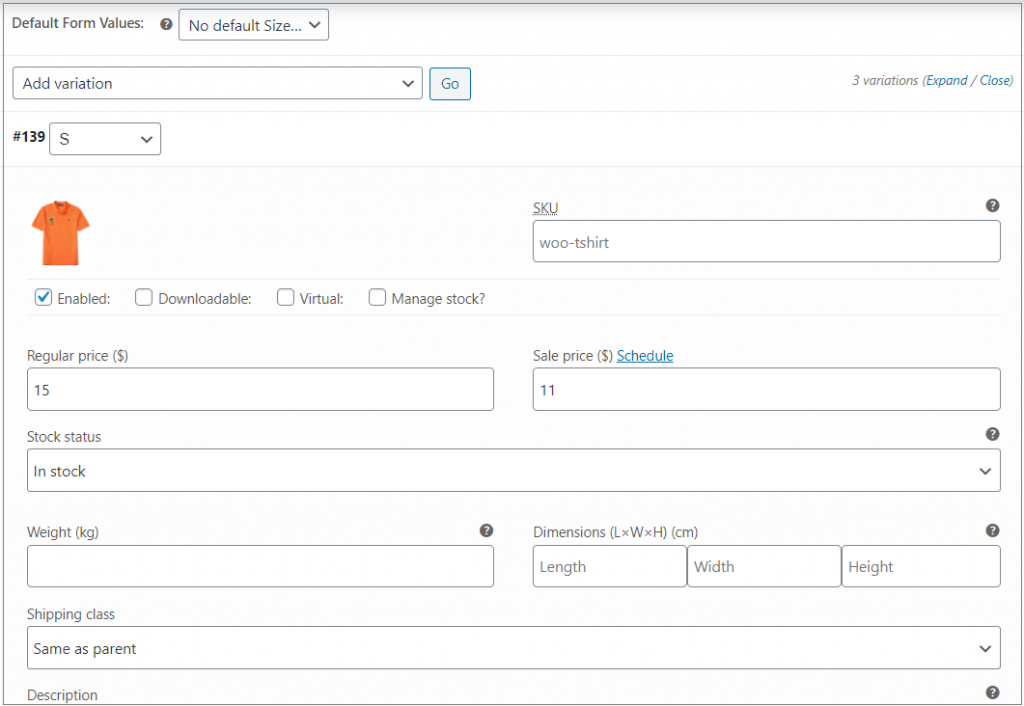
To save your settings, click on the Save changes button.
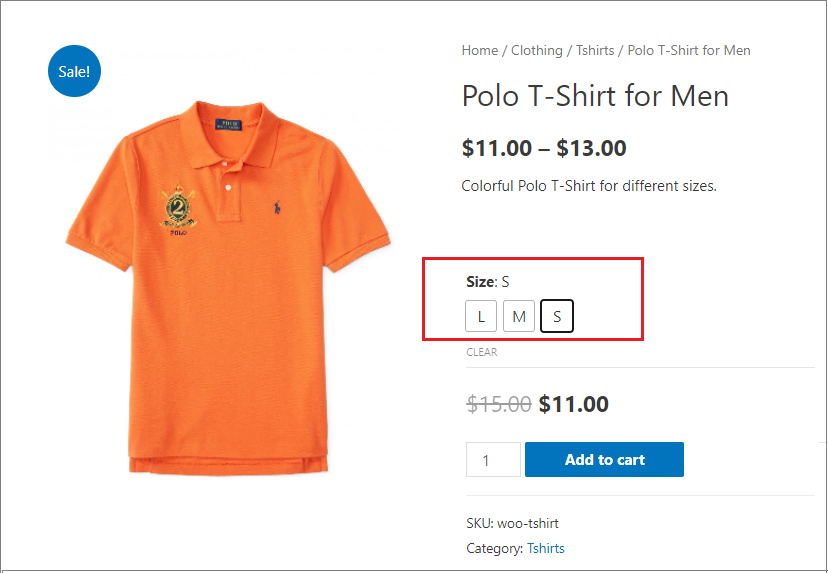
This is how your variable product displays on your store:

Image, price, and product details will now change according to the chosen variable. Before adding to the cart, customers must choose a variation.
You can create a new experience for your WooCommerce product variations using a variation swatches plugin. An example of such a plugin is the Variation Swatches for WooCommerce. The plugin lets you display your WooCommerce product variations as swatches.
As soon as you install the WooCommerce Variation Swatches plugin, your product page will be changed into button swatches.
The pro version allows you to change the dropdown menu into image, color, and radio button swatches on both shop and archive pages.
We hope, the tutorial will help you to learn the steps needed to add variable products in the Astra-powered WooCommerce store. You can see Astra theme reviews to get a better experience of this theme.