Fonts are an important element while creating a visually stunning WordPress website. Using the right font can change the look and feel of your website in a second. That is why it is important to know how to change WordPress fonts on your website. This font is compatible with most of the responsive WooCommerce WordPress themes.
This tutorial will demonstrate the simplest and most effective ways to add a custom font to a WordPress website. At the end of this tutorial, you can implement custom fonts on your WordPress website in seconds.
2 Methods of How to Change WordPress Fonts
Method 1: Using Easy Google Fonts Plugin
Google fonts are widely popular and easy to use. In a few easy steps, you can use the Easy Google Fonts plugin to add your preferred Google font.
Step 1:
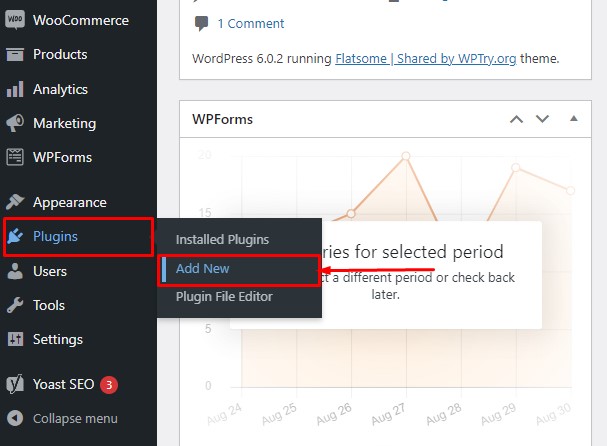
First, we need to install the Easy Google Fonts Plugin. Hover on ‘Plugins’ from the WordPress dashboard and click on ‘Add New.’
Step 2:
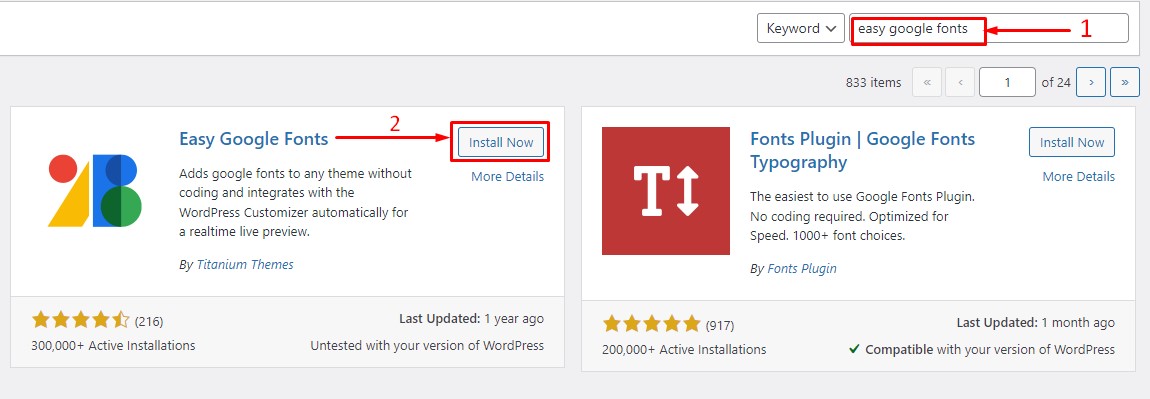
Inside the WordPress plugin directory, search for the Easy Google Fonts plugin. Click to install and activate the plugin.
Step 3:
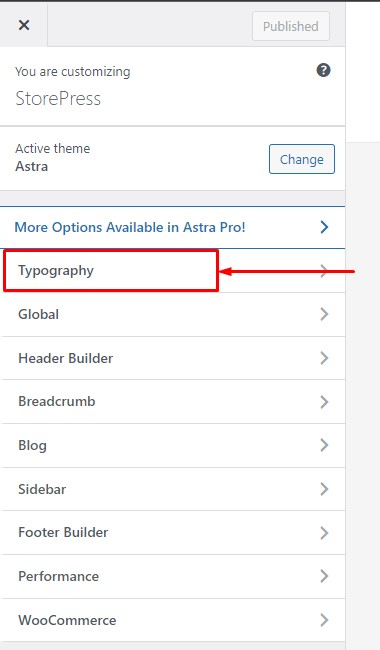
After activating the plugin, go to your theme customizer. For this tutorial, we are using the Astra theme, one of the most popular themes in WordPress.

Step 4:
In your theme customizer, open the ‘Typography’ > ‘Default Typography.’
Step 5:
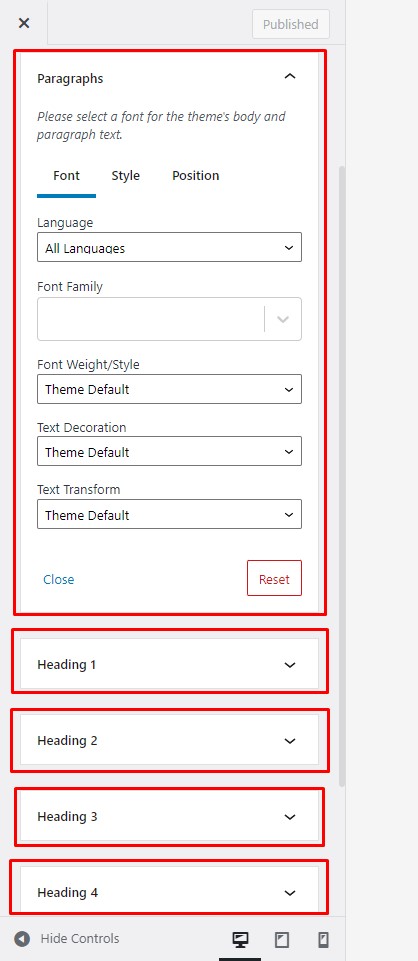
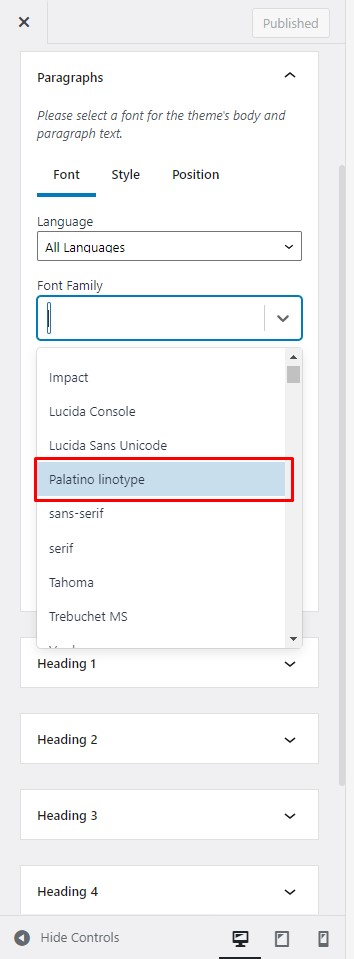
You will find many font options inside the typography section. You can select the Google fonts for each of your purposes individually. The Easy Google Font’s default typography settings allow you to customize fonts for headings and paragraphs.
Step 6:
Click on the ‘font family’ option in each section and choose the font you want. You will see a large list of all free Google fonts being displayed to choose from. Click on any font you like, and you will see the change in real-time.
Step 7:
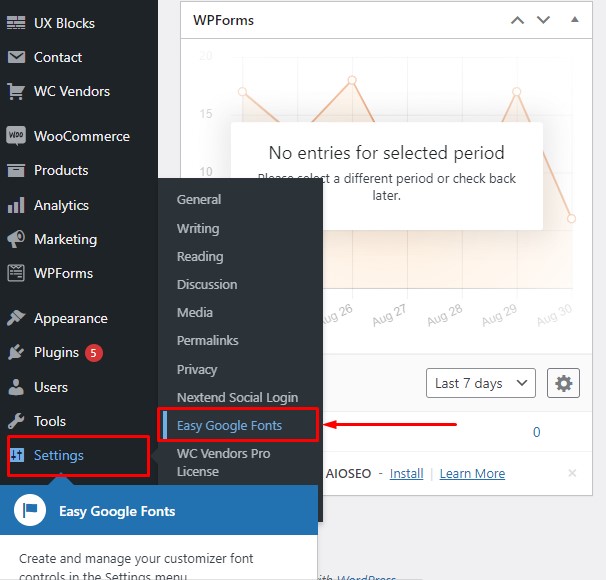
Easy Google Fonts default control allows you to change the headlines and paragraph fonts. If you want to control texts of the different elements of your theme, you can create your own custom font controls. From the WordPress dashboard, hover on ‘Settings’ and click on ‘Easy Google Fonts.’ This step is similar to the best SEO themes for WordPress.
Step 8:
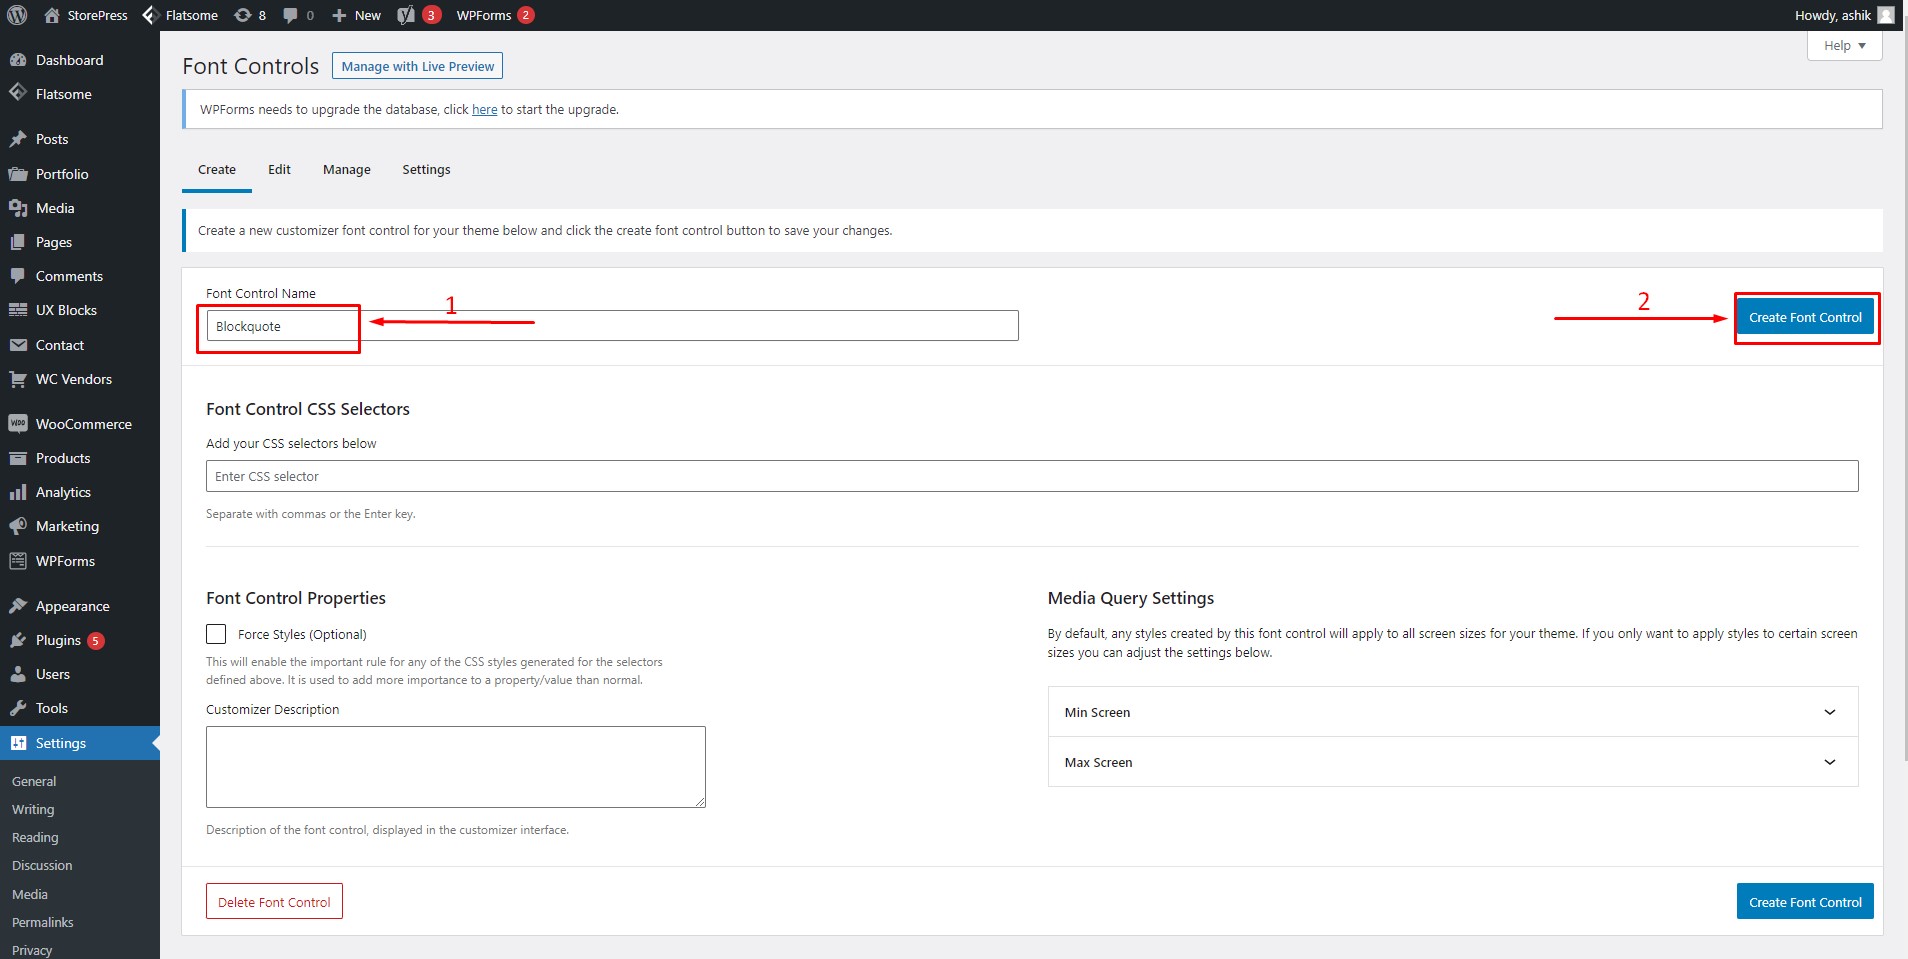
You will be taken to the ‘Create’ tab on the plugin’s settings page. For this tutorial, we will create a custom form control for the blockquote element. Type the name of your form control and then click on the ‘Create Font Control.’
Step 9:
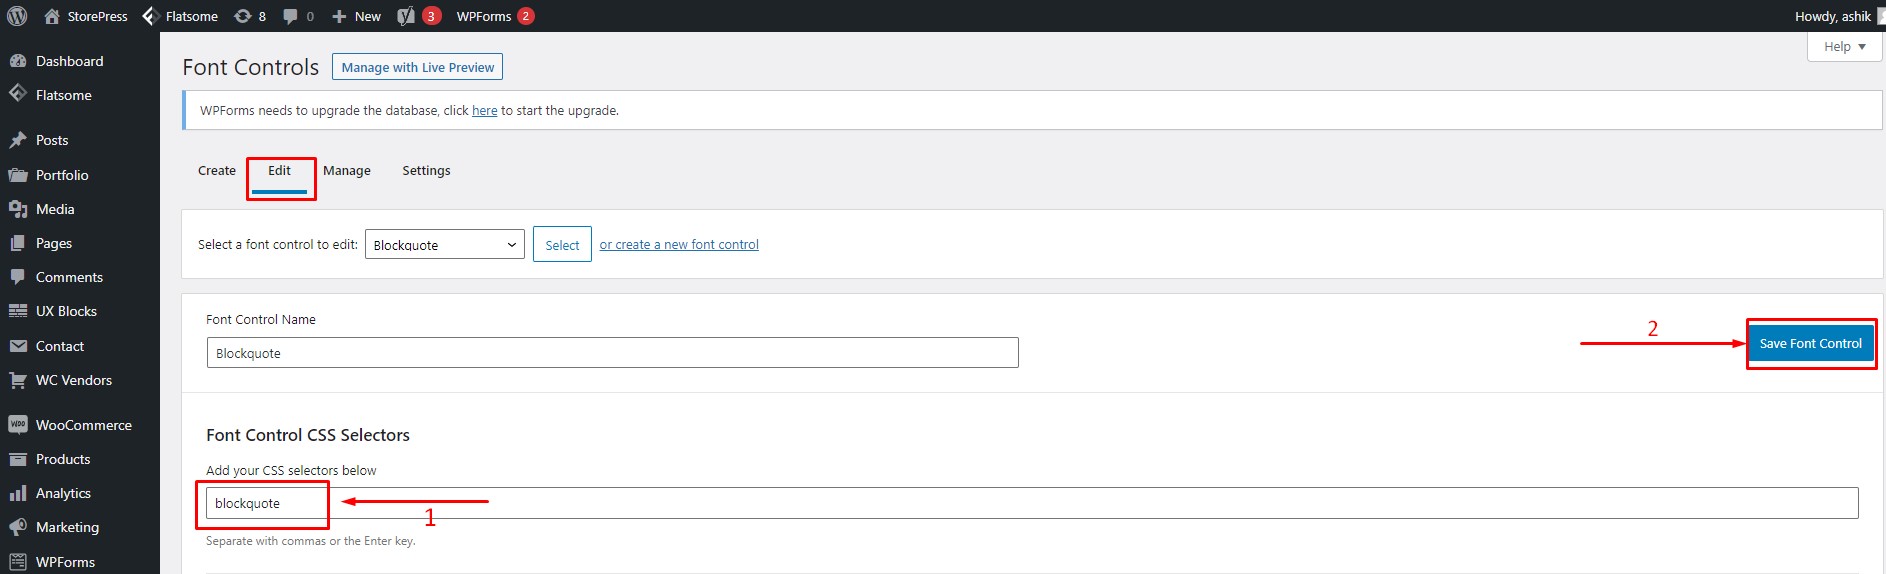
Upon creating the custom form control, you will be taken to the ‘Edit’ tab, where you can customize the font control more. Type ‘blockquote’ or other selectors for the specific element in the CSS selector box. Click ‘Save Font Control.’
Step 10:
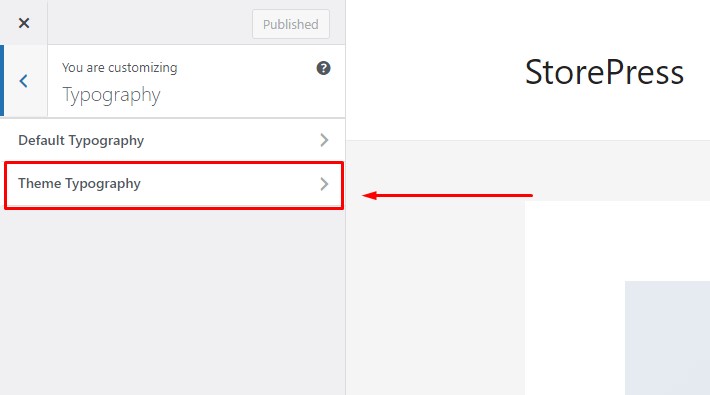
After creating and saving our custom form control, open the theme customizer again and go to ‘Typography.’ This time you will see there is an additional typography section named ‘Theme Typography.’ Click to open the ‘Theme Typography.’
Step 11:
Inside the theme typography, we will see the font controls for the Blockquote section we just created earlier. Now using this newly created Blockquote custom font control, you can easily change and control all the text related to the Blockquote element. Following this process, you can create custom form controls as many as you like. In that case, You can learn how to add a contact form on WordPress easily

Method 2: Manually Add Google Fonts (No Plugin)
The second method to add a custom font to a WordPress website is about adding Google fonts to your WordPress website manually. This process is rather simple and requires no plugin.
Step 1:
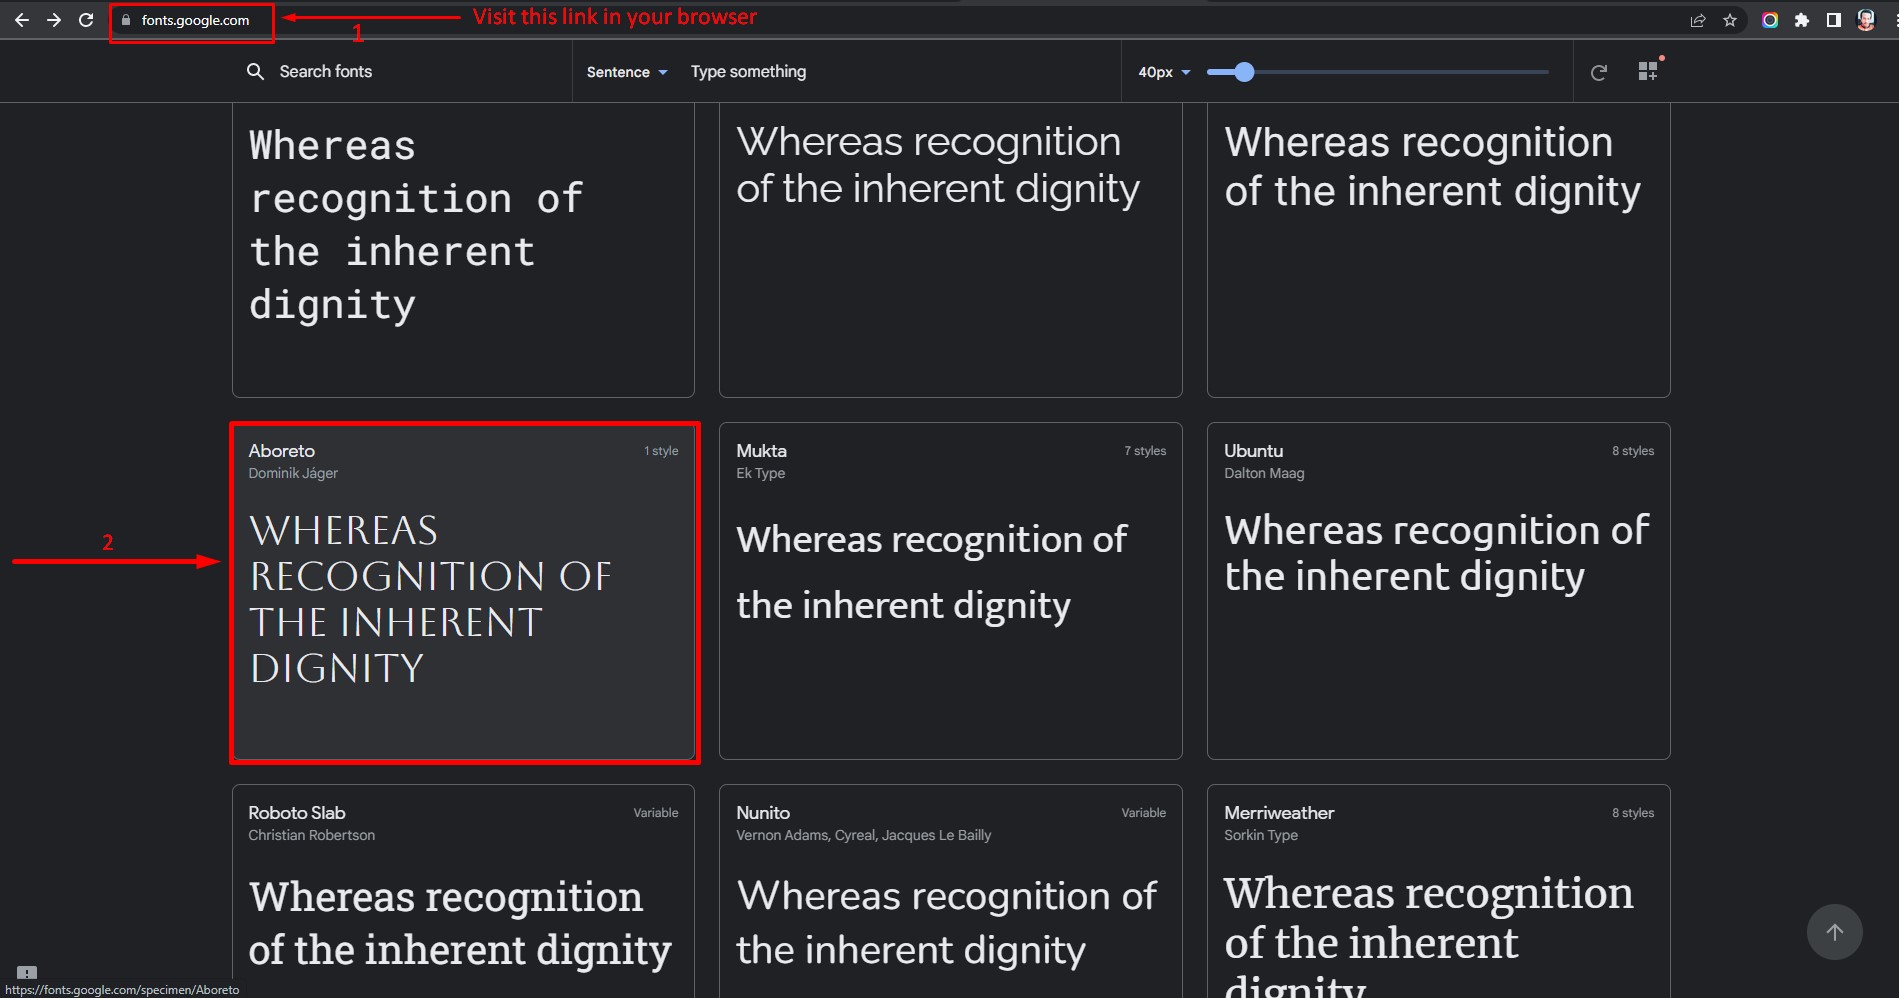
Visit the link fonts.google.com and click on a font of your likeness to implement in your website.
Step 2:
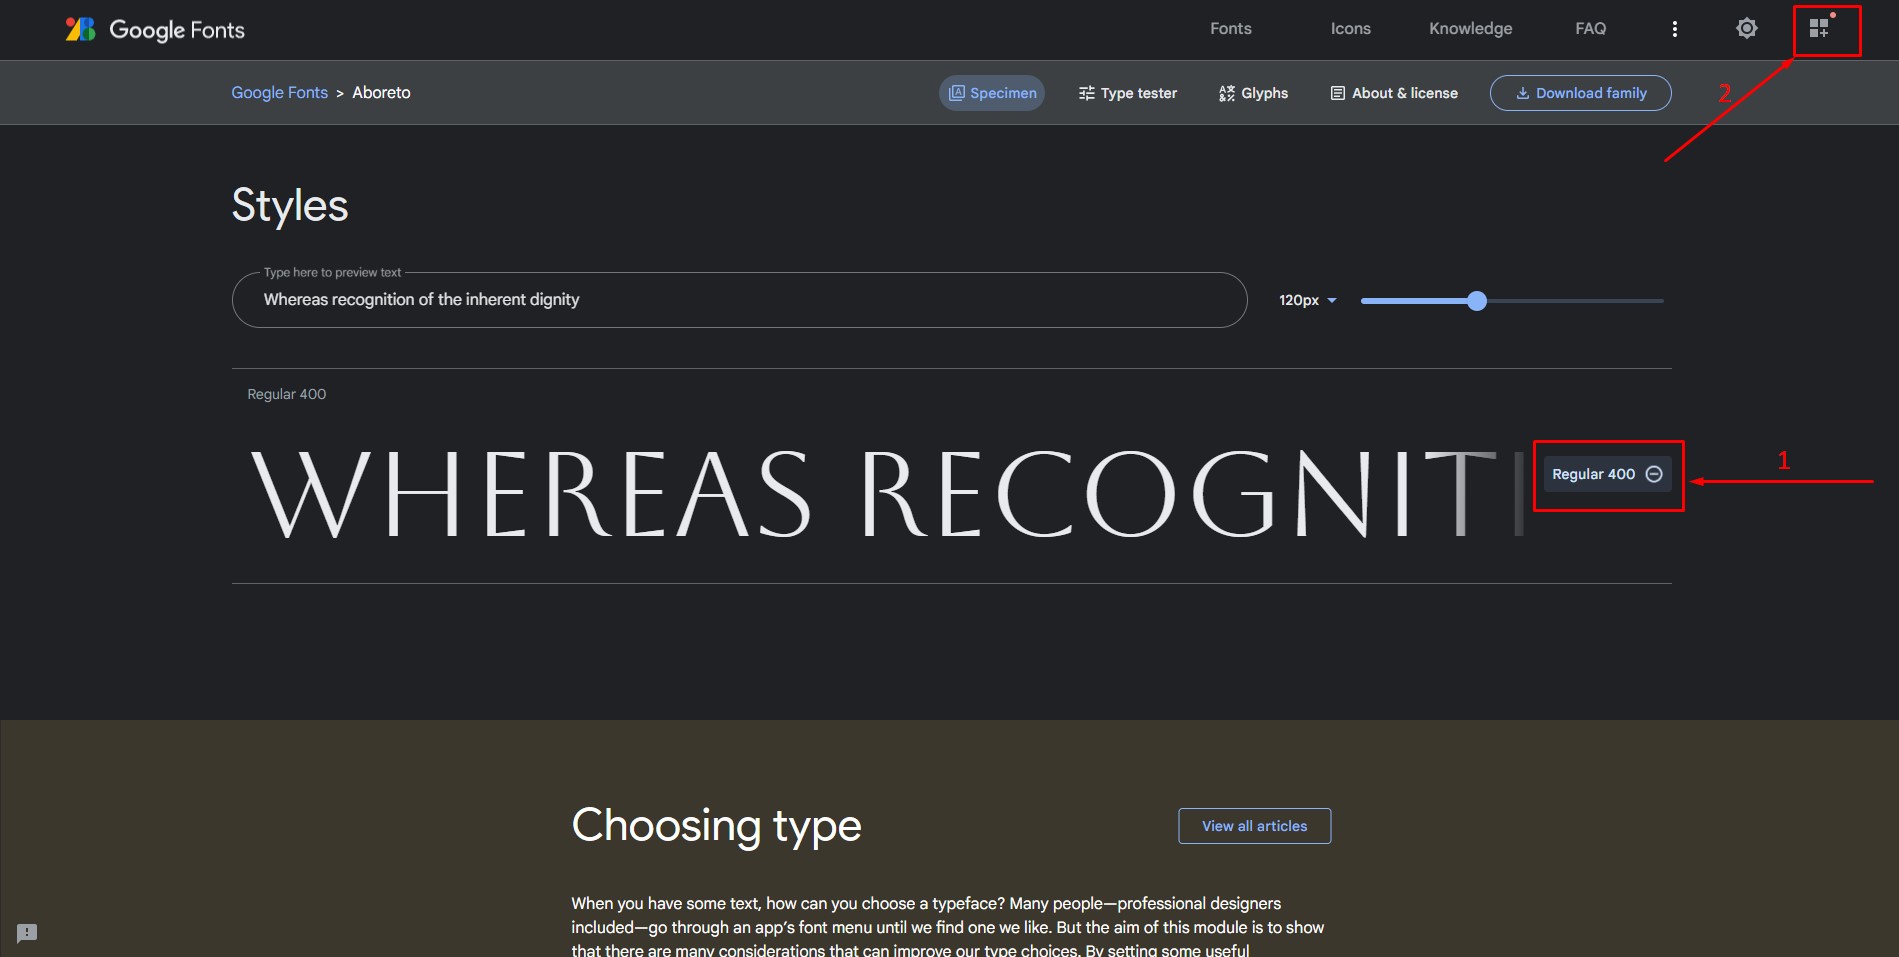
Click on the font style ‘Regular 400’ to add it to the selected family list. Click on the ‘square +’ icon in the top right corner.
Step 3:
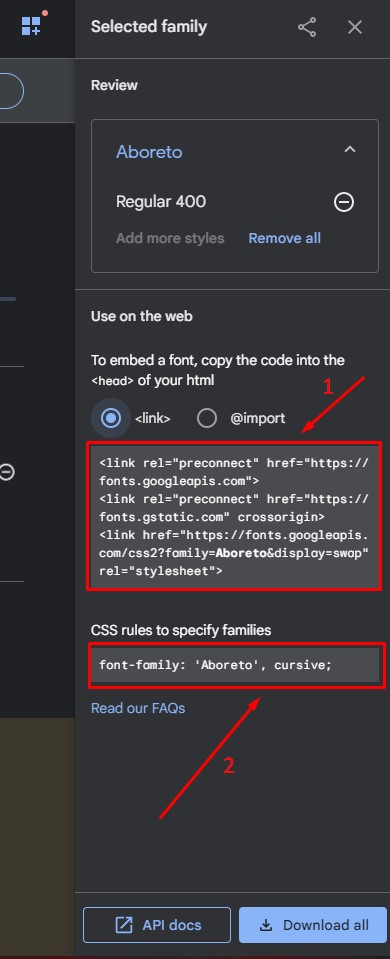
Now copy the embed code as shown in image(1). You will need to paste it to the web page header design section of your WordPress website. You will also need the CSS code(2) to apply the font wherever you prefer.
Step 4:
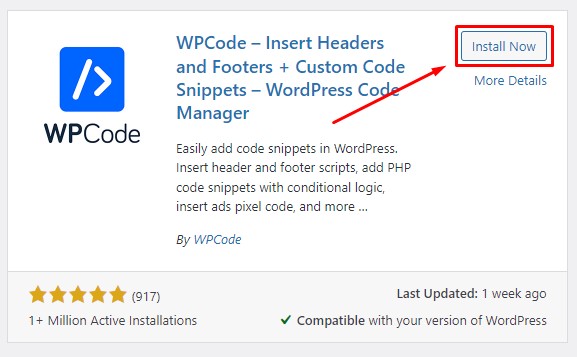
We will use the WPCode plugin to insert the embed code into the website header. That way, you do not need to alter the website’s source code. In the WordPress plugin directory, search for WPCode and install and activate it. WPCode supports all free modern and creative WordPress themes.
Step 5:
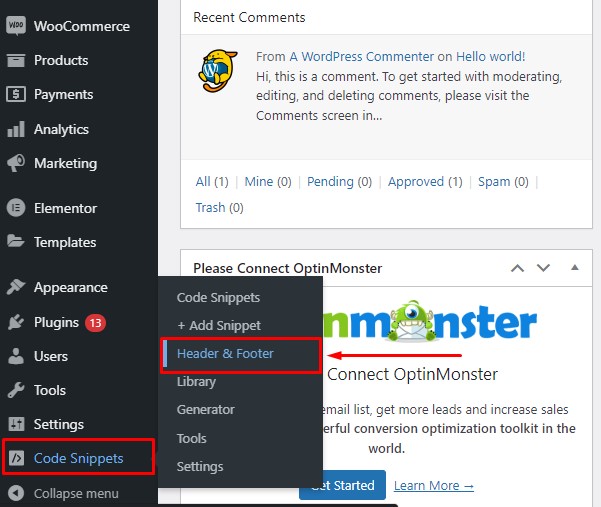
From the WordPress dashboard, hover on ‘Code Snippets’ and click on ‘Header & Footer.’
Step 6:
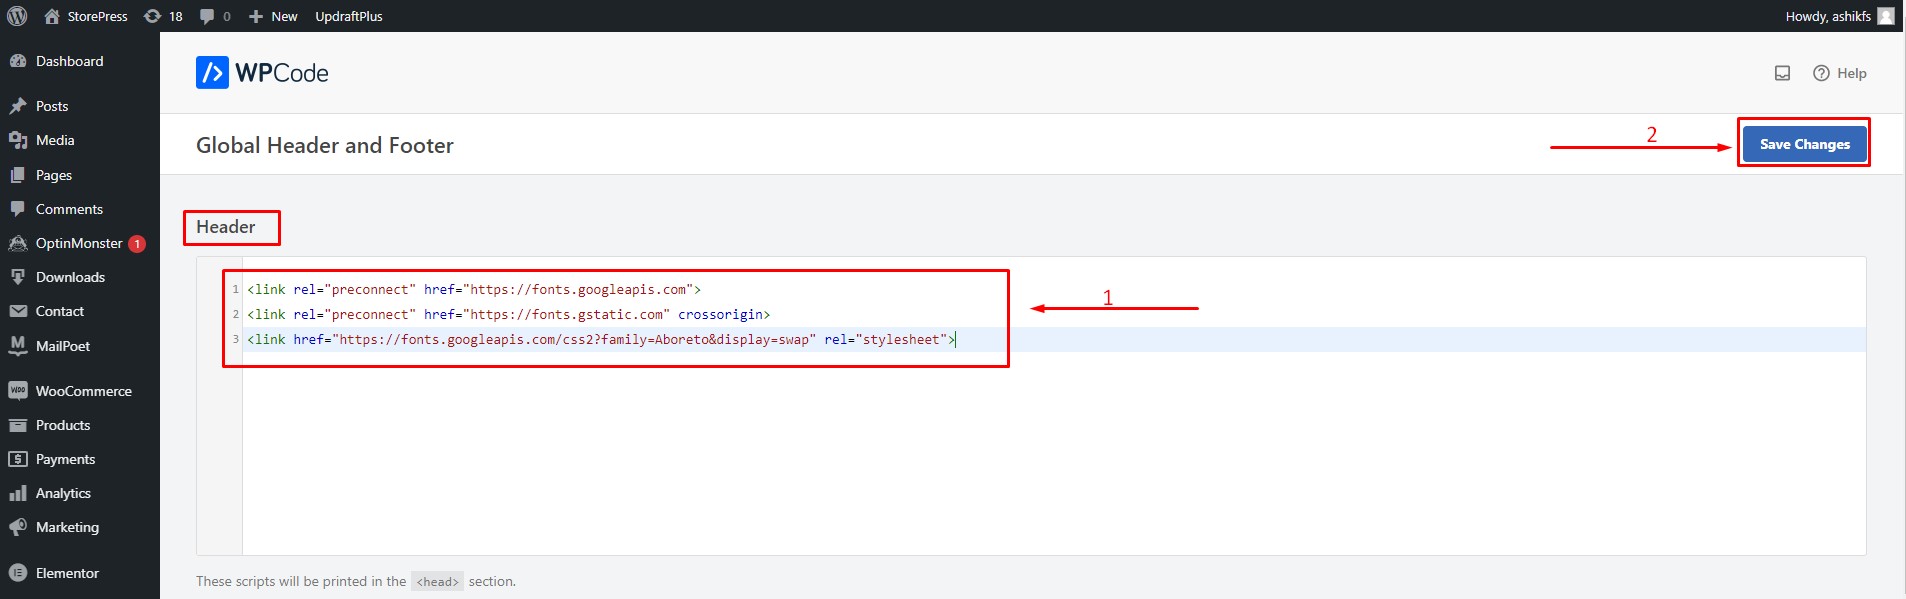
You will be taken to the global header and footer section. Paste the embed code we copied earlier into the header section and click ‘Save Changes.’
Step 7:
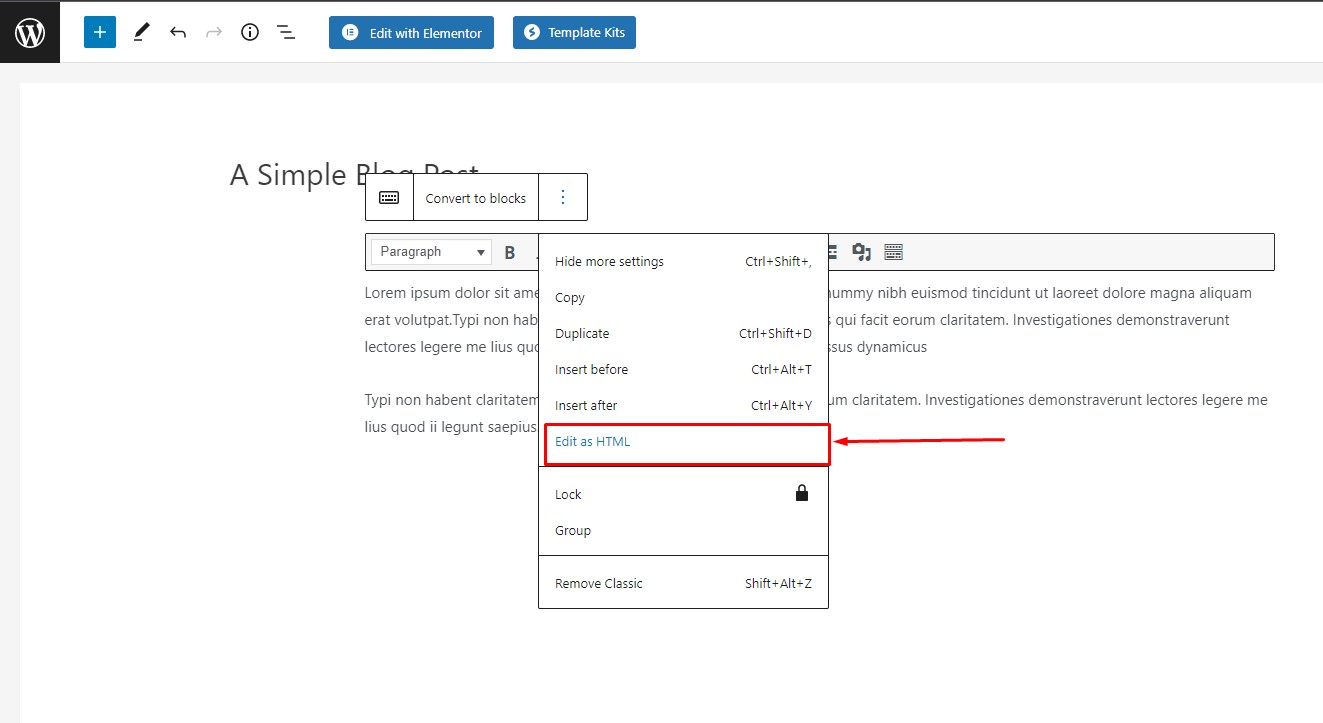
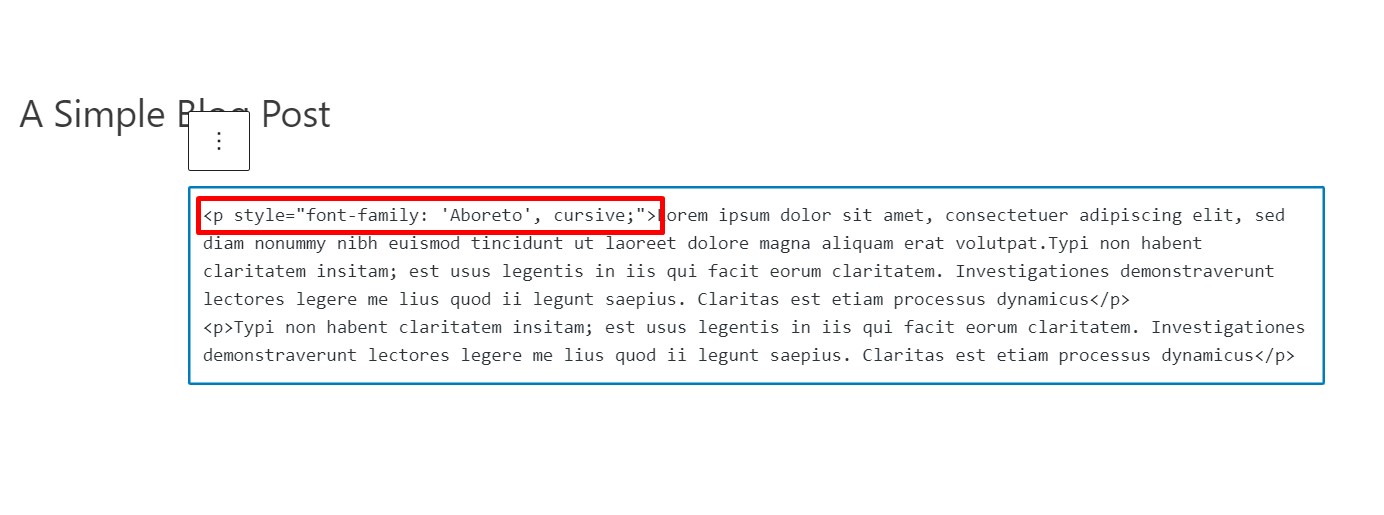
Open any post in the block editor. Select a paragraph block and click on ‘Edit as HTML’ from the block toolbar.
Step 8:
Inside the <p> tag, type style=”font-family: ‘Aboreto’, cursive;” as shown in the image. Inside the style, the attribute is the CSS code of the font we copied earlier. Now click ‘Update’ to save changes and visit the page.
Step 9:
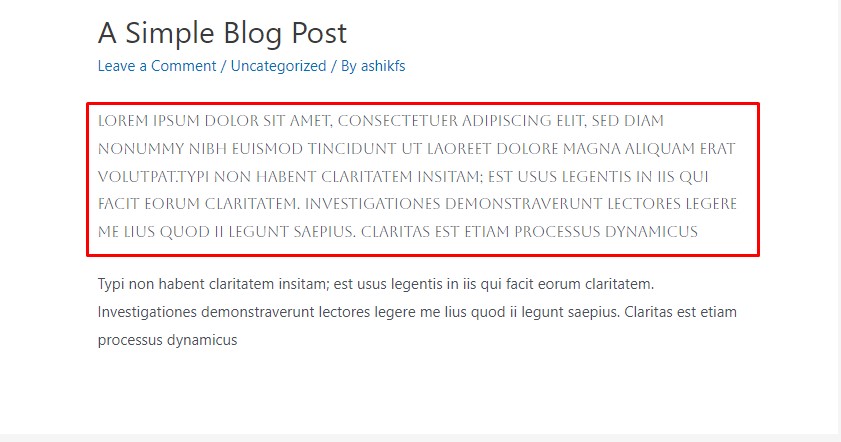
We can see that we successfully changed the font of the text within the <p> tag with our chosen font.
Conclusion
The methods mentioned above for adding custom fonts to your WordPress website are very effective. Using the plugin, you can implement any google font and create custom font control for specific modules. The second method is simple and effective and reduces website loading time as you are only using what you need, with no extra files. You can use any of these two methods to give your WordPress website a smart and elegant look.
Feel free to check our article on how to add Google Recaptcha contact form 7 to get insight into the dynamic functionalities of WordPress.